Kali Linux, ver.: 1.0.3
Prerequisites:
- Minimum 8 GB of HDD space to install Kali Linux
- For i386 or amd64 architecture, a minimum of 512 MB RAM (1024 MB RAM recommended)
- An ISO or VMWare image can be downloaded from Kali Linux site
Here, I am going to guide you step by step to install
Kali Linux (ver. 1.0.2) in a virtual machine. Procedure of installation is very much similar to Backtrack.
Click on the above link to download Kali Linux. When you goto this link it will ask you to register, however registration is not mandatory to download Kali Linux. Either, you can register by giving your name or email address to receive information updates or simply you can skip this step and click on "No thanks, just want to download!". Depending on the type, you can customize your download in ISO or VMWare format. Click on "Download Kali". Once Kali Linux is downloaded you are ready to install it in a virtual machine. I am using VMWare Player version: 5.0.2 build-1031769 here.
1. Open VMWare Player and click on Click a New Virtual Machine. It will open New Virtual Machine Wizard.
2. On this screen select
I will install the operating system later and the click on
Next.
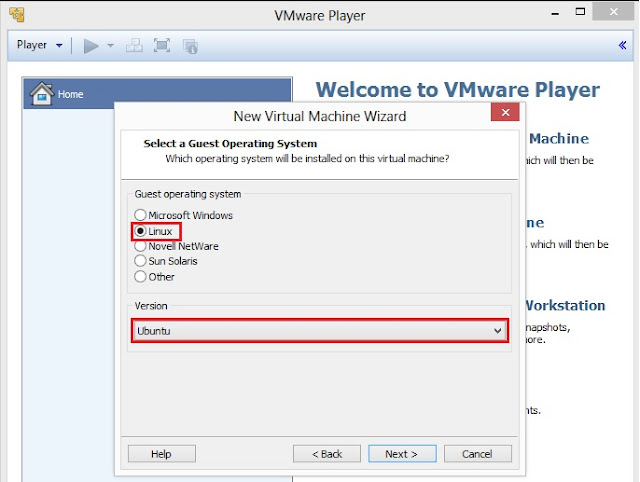
3. Select Guest operating system as Linux (kernel of Kali Linux is based on Linux) and then select Version as Ubuntu. Click on Next to goto next screen
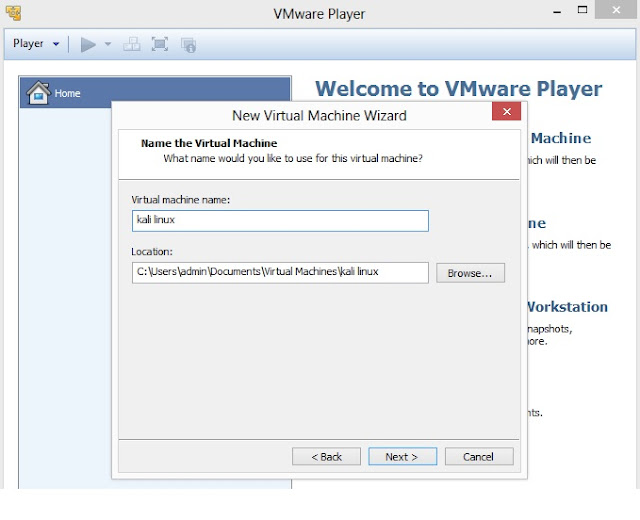
4. Type Virtual machine name and specify the Location where you want install Kali Linux, however you can leave the default Virtual machine name and Location. Click on Next to proceed to the next screen
5. Specify Disk Capacity. Default is 20 GB. Select Split virtual disk into multiple files where file transfer is a major issue. Click on Next
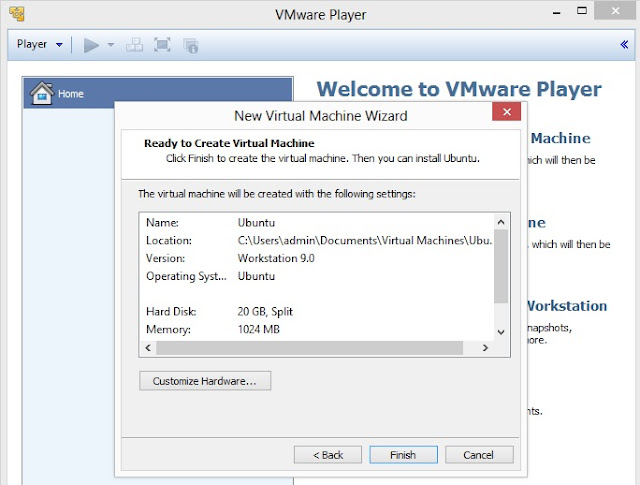
6. On this screen, either you can click on Customize Hardware to customize settings and then to goto step no. 8 or click on Finish to complete the process of creating virtual machine
7. Click on Edit virtual machine settings
8. This is the screen where you can customize or edit your Hardware Settings. As mentioned above, the minimum system requirement is uni-processor of i386 or amd64 architecture processor, so click on
(a) Memory, to select minimum 1024 MB of RAM;
(b) Processors, as 1 or 2 (depending upon the processing speed) and Preferred mode as Automatic;
(c) Click on CD/DVD IDE. Now, on right hand panel you will Connection. It has two options:
Use physical drive- select this option if you have Kali Linux is in your CD or DVD drive; or
Use ISO image file- select this option if you have downloaded Kali Linux on your hard drive. Click on Browse to locate the ISO file
(d) Floppy drive is optional, as now a days most of the computers do not floppy drive
(e) Select NAT if you have network adapter for Internet
Other Hardware settings can be modified once installation process is completed. Now click on OK.
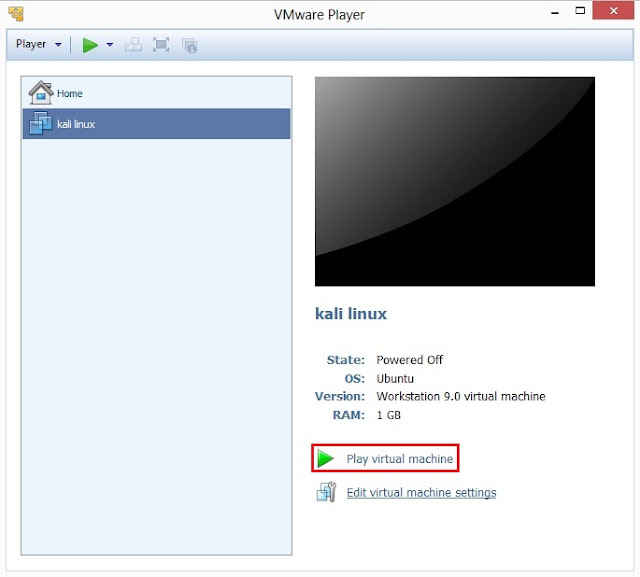
9. Select kali linux on left side panel screen and then click on Play virtual machine
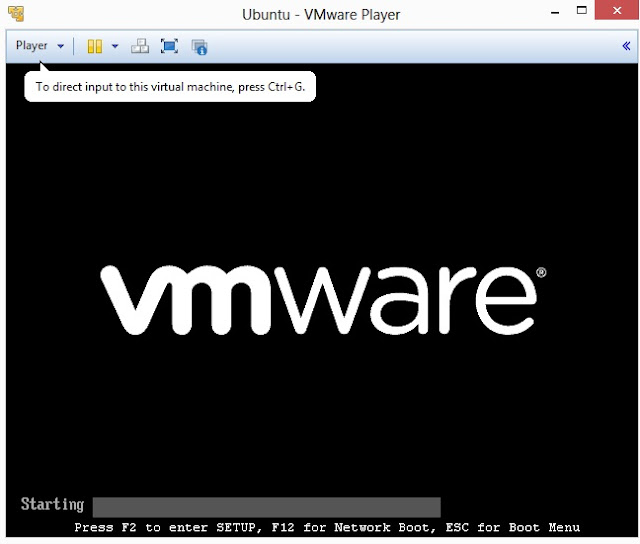
10 VMWare setup will startup
11. You will be greeted with Kali Linux boot screen. Choose either Graphical or Text-Mode install and press Enter to boot
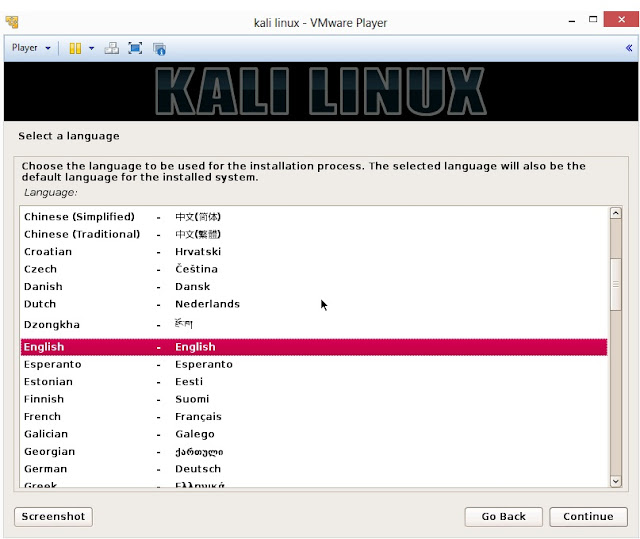
12. Select your preferred language and click on Continue
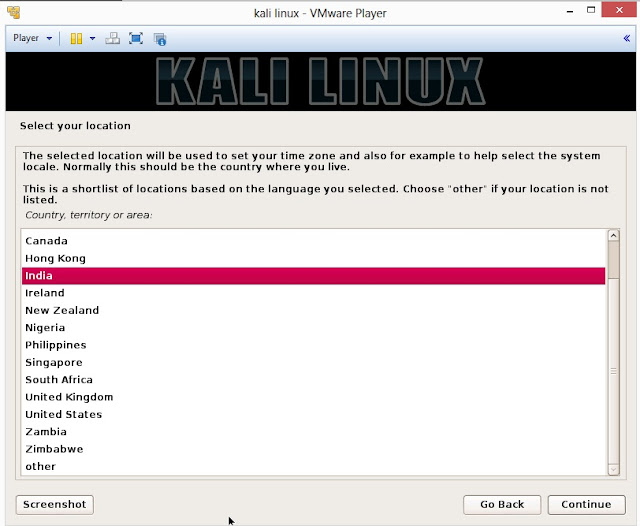
13. Select your location and click on Continue
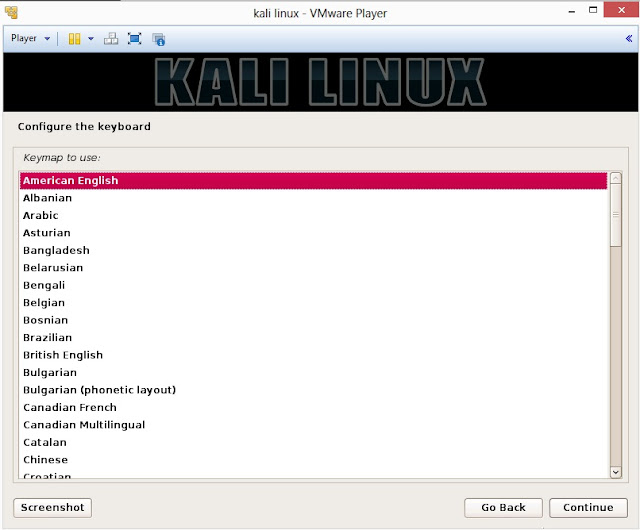
14. Select option to configure your keyboard and click on Continue
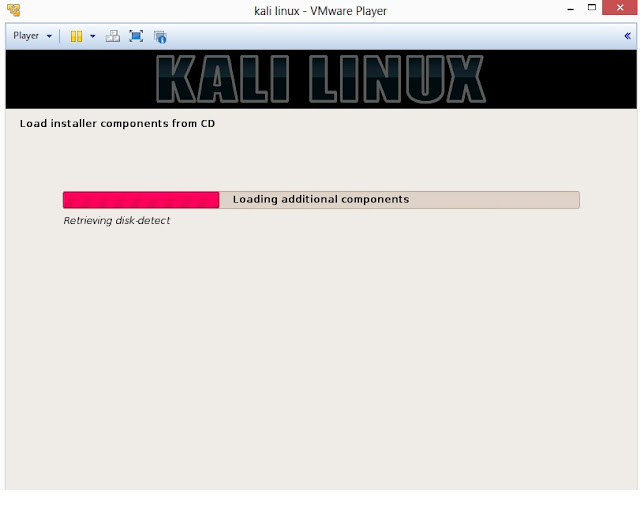
15. Once disc is detected by operating system, it will copy the image to your hard disk and probe your network interfaces
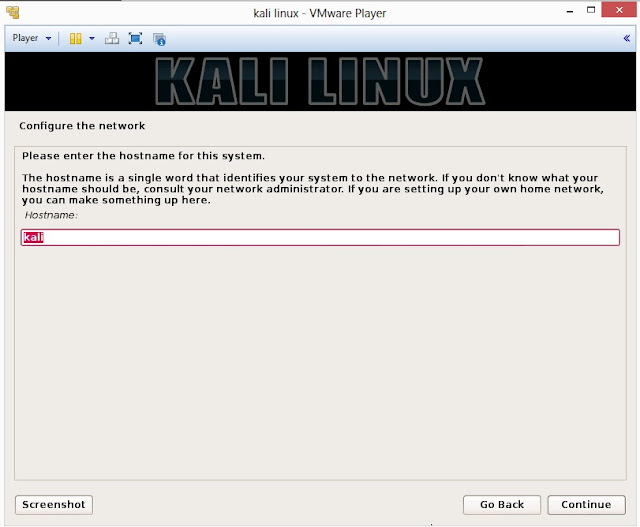
16. Enter hostname to configure your network and click on Continue
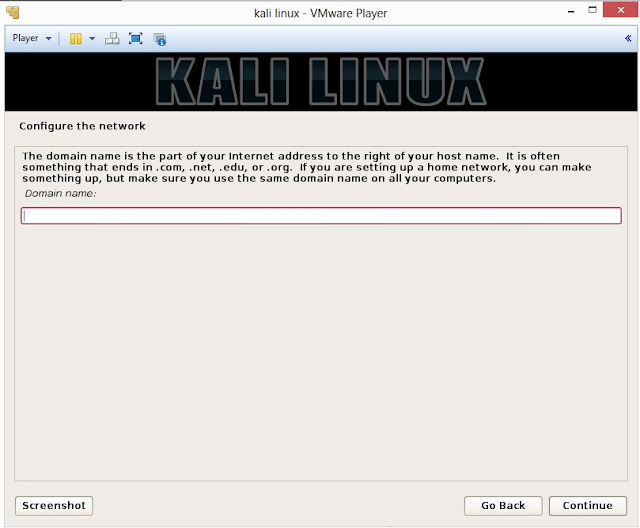
17. If you have a domain name, then enter here in the box. Make sure that you have a correct domain name. You can enter the domain name later and leave this box blank. Click on Continue
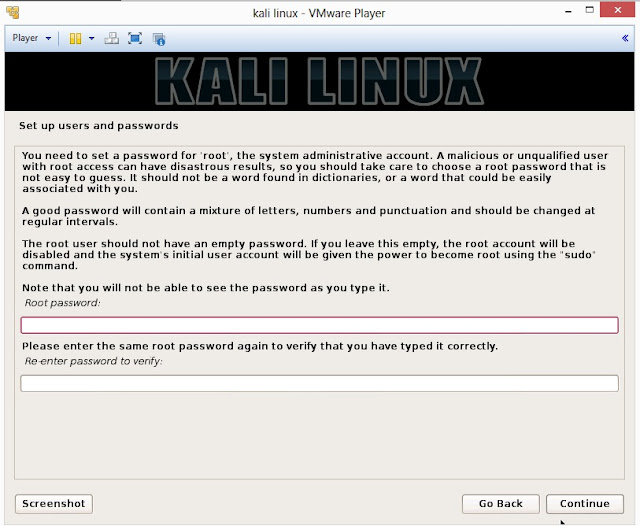
18. Enter robust password for your root account
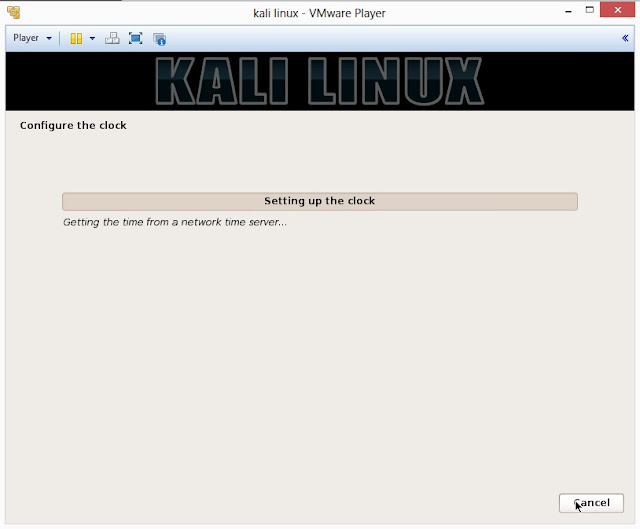
19. It will auto-detect time from network time server
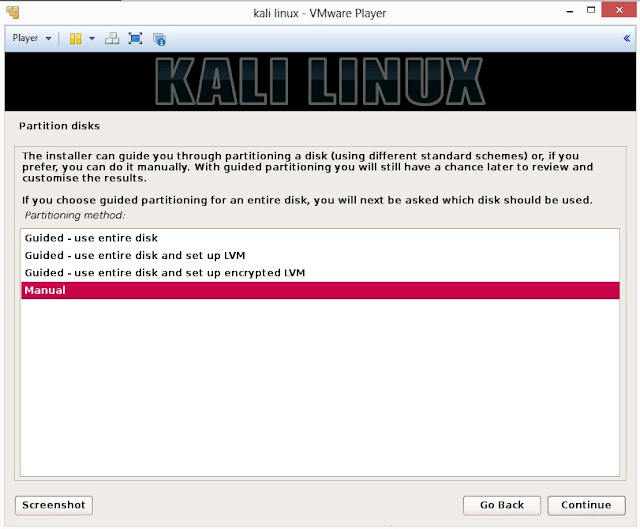
20. Installer will probe hard disk and offer you four choices of partitioning of disk. Beginner can select Guided- use entire disk however experienced user can setup partition as Manual
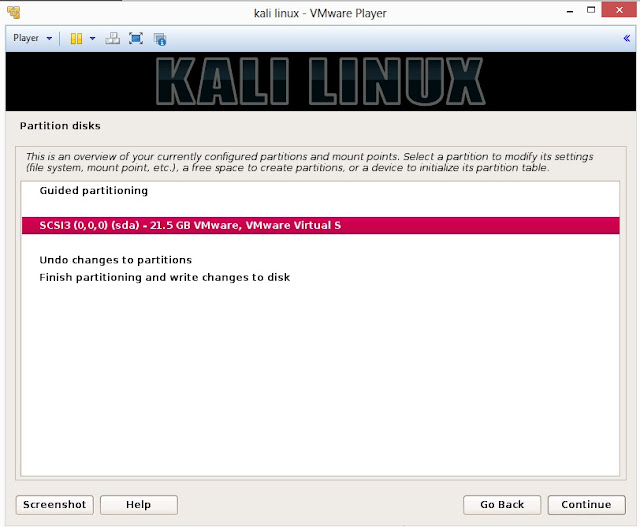
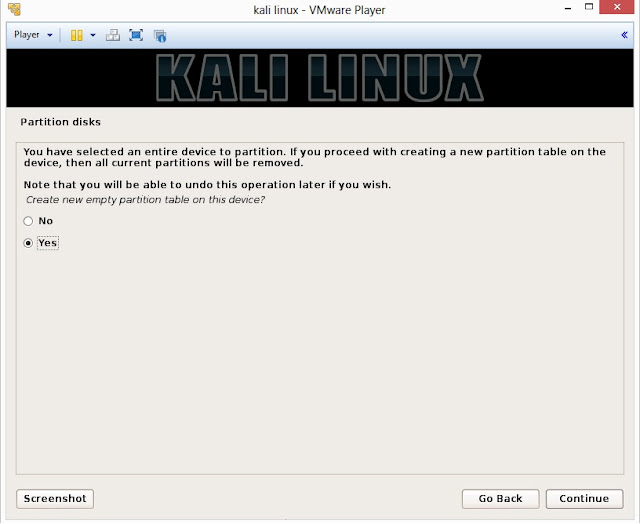
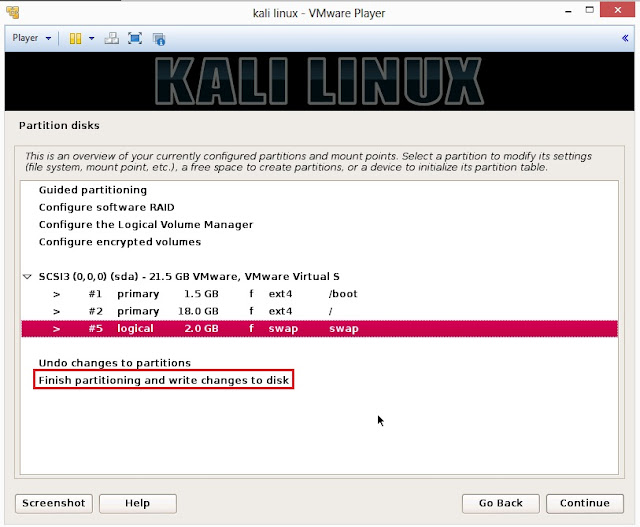
21. Below are the screenshots of manual partition. I have created three partitions
a. /boot (a partition from where your operating system will boot)
b. / (root partition for super user or admin)
c. swap (a portion where buffering is done)
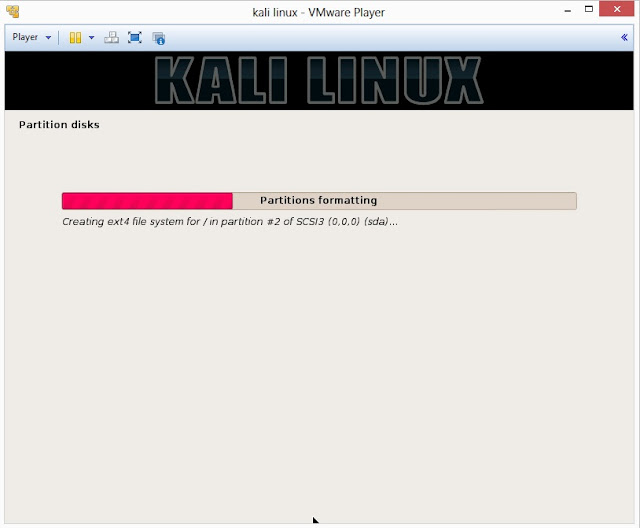
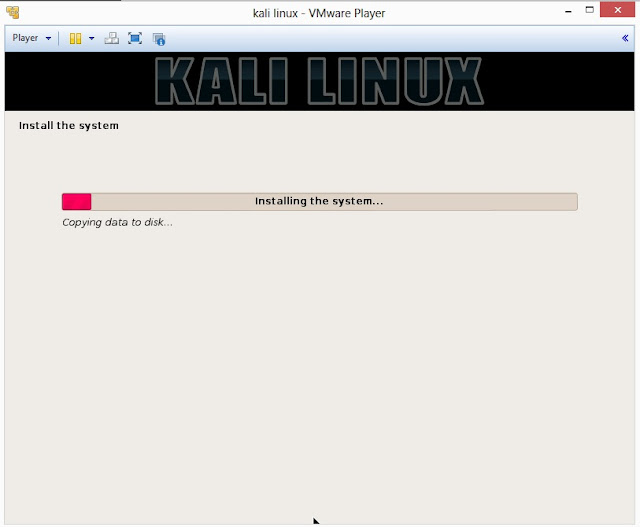
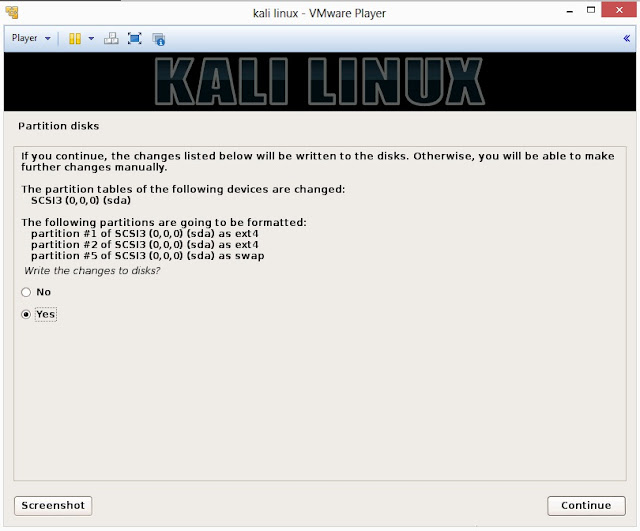
22. This is the screen where you’ll have last chance to review your disk configuration before the installer makes irreversible changes. After you click Continue, the installer will go to work and you’ll have an almost finished installation.
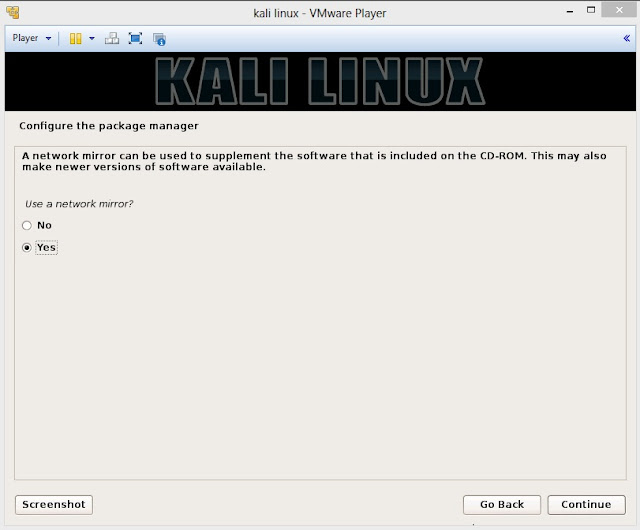
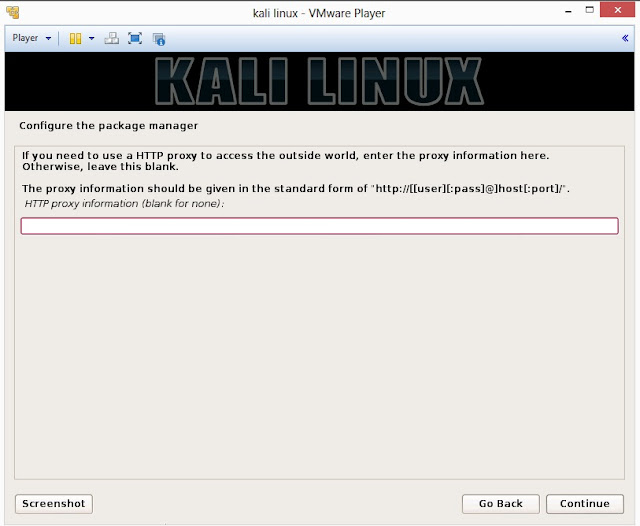
23. Configure network mirror to give additional software that is included on the CD-ROM
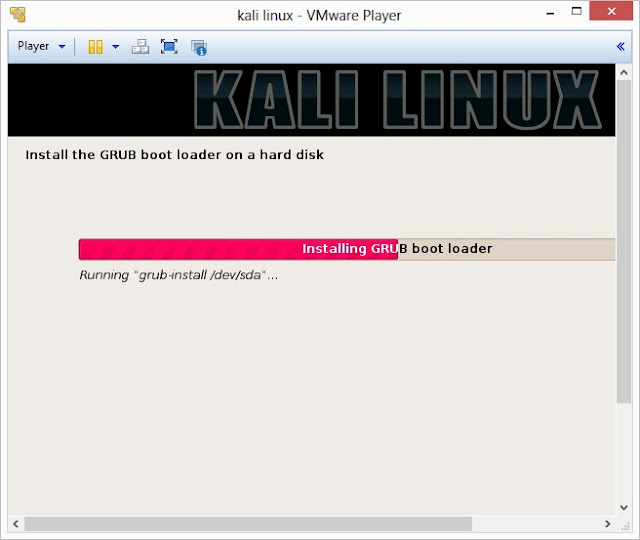
24. Install GRUB boot loader
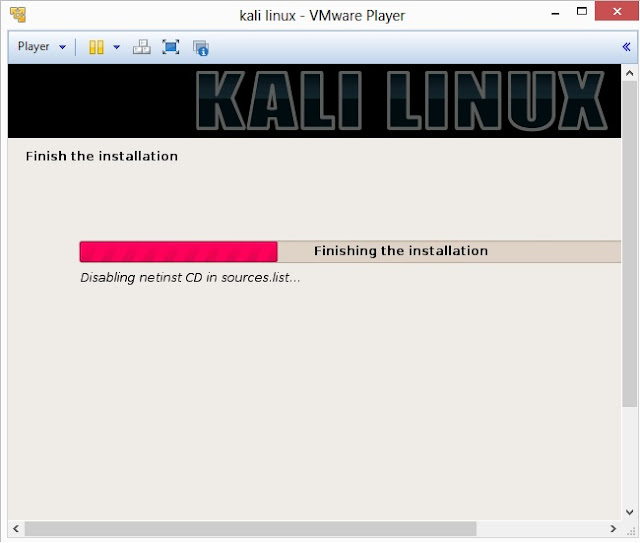
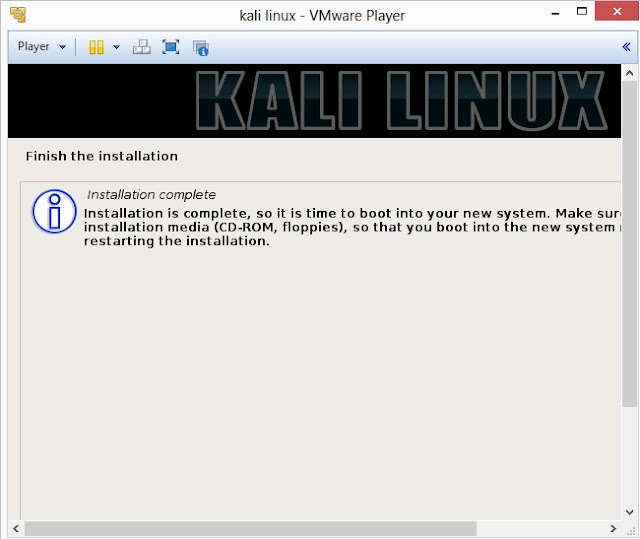
25. Finally, click on Finish to reboot Kali Linux installation
26. Login screen of Kali Linux

 and then on Computer.